


Worm Composting: Red Wigglers in a Closet, Classroom or Kitchen

In plenty of elementary schools, the most popular class pet lives in a plastic bin by the window and has no name, because there are about a thousand of them. They eat the apple cores from lunch, and by spring the bottom of their bin holds a few pounds of dark, crumbly castings that go into the school garden.
That is worm composting, or vermicomposting, in one scene. You keep a colony of red wiggler worms in a ventilated container with damp shredded paper, feed them fruit and vegetable scraps, and harvest what they leave behind. It needs no yard, works year-round indoors, and once it settles in, it takes about 15 minutes a week. It suits apartments well, which is why many city composting programs run worm bin workshops.
The right worm, and the ones to avoid
Composting worms are not the earthworms you find in garden soil. The standard species is Eisenia fetida, the red wiggler, which lives in the top few inches of rotting leaves and manure rather than burrowing deep. That makes it happy in a shallow bin. Nightcrawlers dug from the lawn will not survive there.
Buy red wigglers from a worm grower, a garden center that knows its species, or a friend whose bin is crowded. NC State Extension suggests starting with at least a pound, roughly a thousand worms, for each square foot of bin surface. A small household can start with one pound and let the colony grow.
One warning matters a great deal. Jumping worms, Asian species in the genus Amynthas, are sometimes sold under names like "Alabama jumpers," "snake worms" or "crazy worms." They are invasive, strip the leaf layer from forest floors and gardens, and turn soil into a grainy texture like coffee grounds. Illinois Extension is blunt: do not buy them for bait, vermicomposting or gardens. If a seller cannot tell you the species, shop elsewhere. And because many northern forests grew up without earthworms, keep bin contents in gardens and pots, never in the woods.
Setting up the bin
The rule of thumb from NC State is one square foot of bin surface for each pound of food scraps you produce in a week. A household that throws out 2 pounds of peels a week needs a bin about 2 feet by 1 foot. Depth matters less; 8 to 12 inches of bedding is plenty, since red wigglers stay near the top.
A homemade bin works fine: a dark plastic storage tote with a dozen small holes drilled in the lid and upper sides for air, and a few in the bottom over a tray to catch drips. Stacking tray systems cost more but make harvesting easier, as the worms move upward to fresh food and leave finished castings in the trays below.
Bedding is the worms' home and part of their food. Good choices are shredded black-and-white newspaper, torn plain cardboard and paper bags, aged leaves, or coconut coir. Skip glossy paper. Soak the bedding in water, squeeze it until it feels like a wrung-out sponge, then fluff it into the bin. Add a handful of garden soil or finished compost for grit and helpful microbes, then the worms. Leave the lid on and a light on in the room for the first night or two, since worms avoid light and will settle down instead of exploring.
Place matters. Red wigglers do best between 59 and 77 degrees F (15 to 25 C), according to NC State, and they suffer near freezing or above about 95 F (35 C). A kitchen cabinet, closet, basement corner or shaded balcony in mild months all work. Keep the bin away from radiators, sunny windows and doors that open to winter air.
A weekly feeding rhythm
Feed little at first. For the first week or two, bury a cup or two of chopped scraps in one corner and wait until most of it is gone before adding more. As the colony grows, feed more often. NC State puts a pound of red wigglers at up to about 2 pounds of scraps a week once they are settled.
Bury each feeding under an inch or two of bedding and rotate around the bin, so the worms always have an undisturbed area to retreat to. Smaller pieces disappear faster, and scraps that were frozen first break down faster still, because freezing softens them. Keep a layer of dry shredded paper on top as a lid inside the lid.
| Feed them | Leave out |
|---|---|
| Vegetable peels and trimmings | Meat, fish and bones |
| Fruit scraps, especially melon and squash | Dairy and greasy or oily food |
| Coffee grounds and paper filters | Onions and garlic |
| Tea leaves (bags only if plastic-free) | Lots of citrus peel |
| Crushed eggshells, a pinch at a time | Salty or heavily spiced leftovers |
| Shredded plain paper and cardboard | Dog and cat waste |
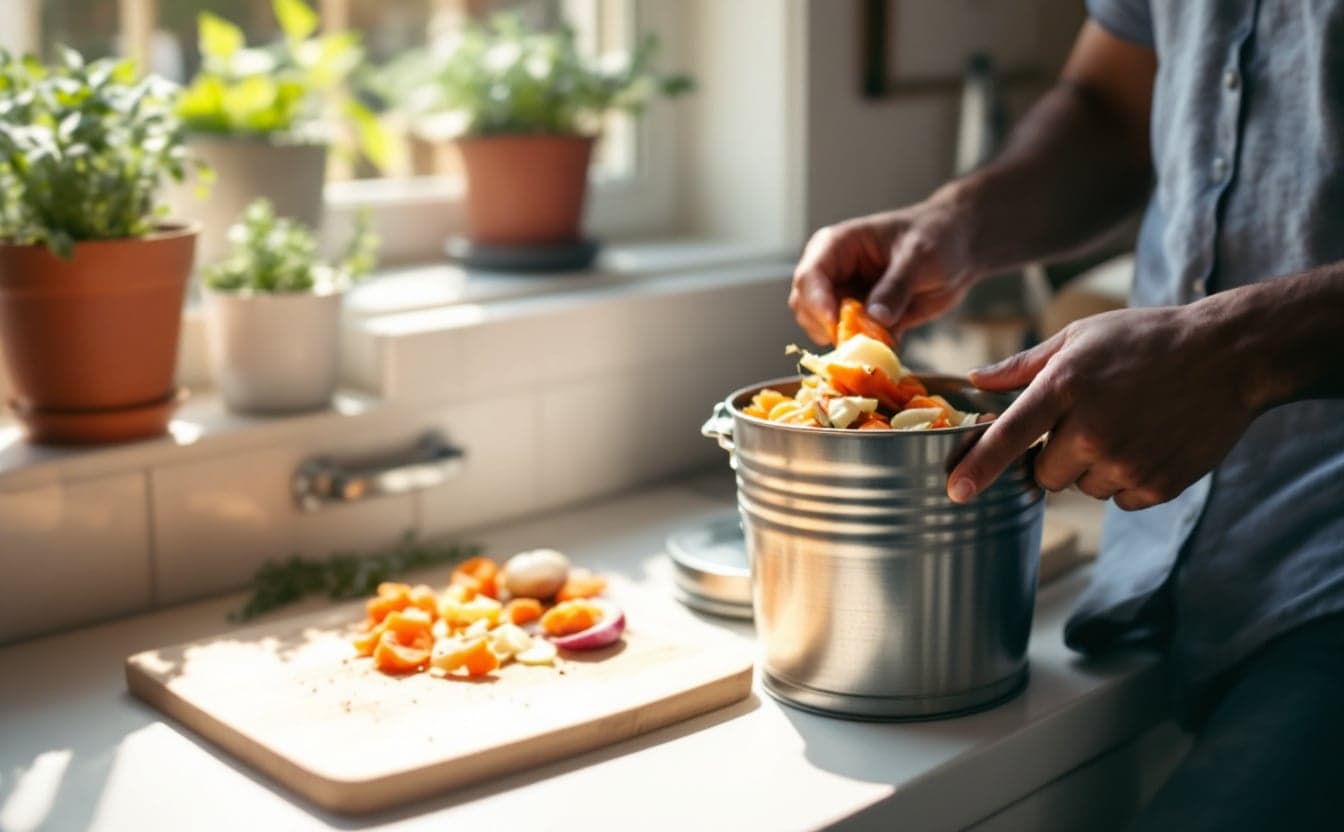
A small kitchen pail with a lid, kept on the counter or in the freezer, is the easiest way to collect scraps between feedings.
Harvesting the castings
After three to six months, most of the bedding will have turned dark and crumbly, and you will see fewer recognizable scraps. That is the time to harvest. There are three common methods.
Side to side
Push everything to one half of the bin. Fill the empty half with fresh, damp bedding and start burying food only on that side. Over two to four weeks most of the worms move across, and you can scoop out the finished side.
Light and piles
On a tarp under a bright light, dump the bin contents into small cone-shaped piles. Worms burrow away from the light. Every 15 to 20 minutes, scrape castings off the outside of each pile. After a few rounds you have a heap of castings and a knot of worms at the bottom of each cone to return to fresh bedding. Kids tend to love this one.
Stacked trays
With a tray system, add a new tray of bedding and food on top when the working tray is full. Over several weeks the worms climb up through the holes. Lift off the upper trays and empty the bottom one. A few stragglers are normal; drop them back in.
Worms in apartments and classrooms
In an apartment, the main concern is usually smell. A well-run bin smells like a damp forest floor, and nobody outside the room will know it is there. Overfeeding causes nearly all odor problems, so err on the side of less. Renters rarely need permission for a bin indoors, but if you share a kitchen, explain the setup before it appears under the sink.
Classrooms have a different problem: breaks. A healthy bin can go two to three weeks without new food if you add fresh bedding and a last feeding before the break. For summer, or a building where the heat drops on weekends and holidays, send the bin home with a family or a staff member. Keep it away from exterior walls and windows, give students a rotating feeding job, and have everyone wash hands after handling worms or castings. Bilingual feeding charts taped to the lid help when families take turns caring for it at home.
Troubleshooting
The bin smells sour or rotten
Too much food, too wet, or both. Stop feeding for a week, mix in a few handfuls of dry shredded paper, and fluff the bedding to let air in.
Fruit flies
Bury every feeding, freeze scraps before adding them, and keep that dry paper layer on top. A small jar of cider vinegar with a drop of dish soap catches the adults.
Worms climbing the walls or escaping
In a brand-new bin this is normal for a night or two; leave a light on. Later, it usually means the bedding is too wet or too acidic, often from piles of citrus or coffee grounds. Add dry bedding and a pinch of crushed eggshell.
Worms seem fewer or sluggish
Check temperature and moisture first. A bin that is too dry, too hot or near freezing slows them down. Move it, mist the bedding, and feed less until they recover.
Tiny white creatures
Springtails, mites and thin white pot worms are mostly harmless bin residents. Large numbers of white worms suggest the bin is acidic or overfed, so ease off.
Putting castings to work
Castings are rich, so a little goes a long way. Mix about one part castings to three or four parts potting mix for containers, spread half an inch on top of houseplant soil, or add a handful to each planting hole in a garden bed. Store extra in a bucket with the lid slightly open so it stays damp but not airless.
Liquid that collects in the bottom tray is leachate, drained from rotting food, not a brewed tea. If you use it, dilute it heavily and pour it on ornamental plants, or add more dry bedding so less drains out.
If you are new to composting in general, our guide on how to start composting covers the browns-and-greens basics that also apply to bedding. And if you are still deciding on a container, our roundup of compost bins compares a worm bin with kitchen pails, a tumbler and a bokashi bucket.
Next: try the Compost Calculator or browse the full Pack list.