



Bokashi Composting: How to Ferment Food Scraps Indoors, Step by Step
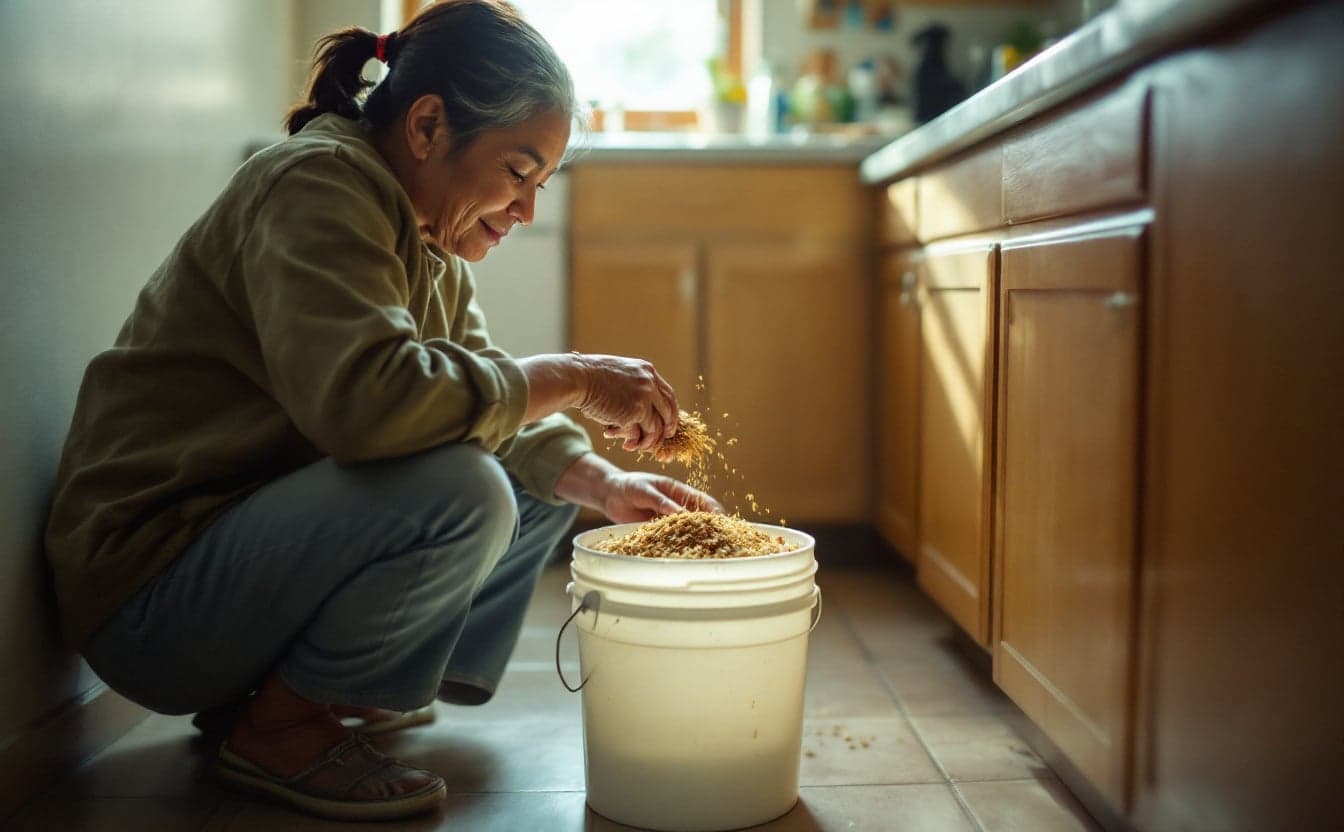
Bokashi is not composting, at least not yet. That one fact explains most of the disappointment people feel with their first bucket, and most of the satisfaction once it clicks.
Here is what bokashi composting actually does. You layer food scraps in a sealed bucket with a bran that carries lactic acid bacteria and yeasts. Over about two weeks, those microbes ferment the scraps, much like cabbage turning into sauerkraut. The result is "pre-compost": food that looks nearly whole but smells sour and pickled. You then bury it in soil or add it to a compost pile, and there it breaks down within a few weeks. Because the first stage happens in a closed bucket, bokashi accepts cooked food, meat, fish, cheese and small bones, and it fits under a kitchen sink.
Fermentation, not rot
A backyard pile depends on oxygen. Bacteria and fungi break scraps down slowly in open air, which is why meat and dairy are off-limits there: they smell and draw animals long before they disappear. Bokashi works the other way around. It shuts the air out, and the microbes in the bran turn sugars in the food into acids. The acidity keeps the food from rotting, and it is why a healthy bucket smells like pickles or cider vinegar rather than garbage.
The word is Japanese, and farmers in Japan have long used it for fermented organic fertilizers. The home bran sold today traces back to work on mixed microbial cultures, often called "effective microorganisms," at the University of the Ryukyus in Okinawa in the 1980s. Washington State University Extension describes the bran as a carrier, usually wheat bran or rice hulls, inoculated with lactic acid bacteria, yeasts and phototrophic bacteria.
What you need
- A bucket with a tight lid and a spigot or false bottom, so liquid can drain away from the scraps.
- Bokashi bran, about a handful per layer of scraps.
- Something to press the scraps down: a potato masher, a small plate, or a bag of extra bran that sits on top.
- Somewhere to finish the fermented scraps: a garden bed, a big planter, a tote of old potting soil, or a compost pile.
- Optional but popular: a second bucket, so one can ferment while you fill the other.
A ready-made kit is the simplest start, with a bag of refill bran for later.
Filling the bucket, step by step
- Sprinkle a thin layer of bran on the bottom of the empty bucket.
- Collect a day or two of scraps. Cut big pieces down to a few inches. Let very wet scraps drain in the sink first.
- Add the scraps in a layer about 2 inches deep and press them down firmly to squeeze out air pockets.
- Sprinkle a handful of bran over the layer. Use a bit more for meat, fish, dairy and as the bucket fills.
- Press the plate or bag on top and close the lid tightly. Open it only when adding more.
- Every two or three days, drain the liquid from the spigot (more on that below).
- When the bucket is full, add a final handful of bran, seal it and set it aside out of direct sun for about two weeks. Fermentation goes best at roughly 65 to 85 degrees F (18 to 29 C), so a kitchen or closet beats an unheated garage in winter.
- Start the second bucket while the first ferments.
What can go in: fruit and vegetable scraps, cooked leftovers, bread, rice and pasta, meat, fish, cheese, eggs and shells, coffee grounds, tea leaves and small bones. What stays out: liquids such as milk, juice and soup broth, big bones, food that is already moldy or rotten, packaging of any kind, and pet waste.
Bokashi tea: drain it, dilute it, use it fast
The liquid that collects at the bottom is called bokashi tea. Draining it keeps the scraps from going soggy and putrid, which is the most common way a batch fails. Amounts vary with what you add; a week of melon rinds produces far more than a week of bread crusts.
The tea is strong and acidic, so never pour it straight onto plants. Dilute it heavily, at least 1 part tea to 100 parts water (about 2 to 3 tablespoons per gallon) for garden beds, and weaker still for houseplants, around a teaspoon per gallon. Water it onto the soil, not the leaves. Use it within a day of draining, since it starts to sour further as it sits. If you have no plants to feed, pour it down the toilet with plenty of water rather than letting it collect.
Turning pre-compost into soil
After two weeks, open the bucket. Expect scraps that still look like scraps, a sour, pickled smell and possibly a coating of white fuzz. That is a successful batch. Now it needs soil to finish, and there are three common ways to get it there.
Bury it in a trench
Dig a trench or hole 8 to 12 inches deep, deep enough that animals will not dig it up. Empty the bucket in, mix it with two to three times its volume of soil, and cover it. WSU Extension advises waiting about two weeks in warm soil, three to four weeks in cool soil and four weeks or more in containers before planting into it, because fresh bokashi is acidic and can burn roots. Spread it across a few holes rather than dumping a whole bucket in one spot.
Add it to a compost pile or worm bin
Dig a hollow in the center of an active pile, add the bokashi, and cover it with leaves or shredded cardboard. Treat it as a green, and balance it with extra browns. It breaks down quickly and often warms the pile. Worm bins can take it too, but only in small amounts, mixed into bedding or after a week or two in soil, since the acidity bothers worms in large doses.
Build a soil factory
This is the apartment favorite. Fill a lidded storage tote about a third full with old potting soil or garden soil. Add the bokashi, mix it in, and cover it with a few more inches of soil. Close the lid and wait two to four weeks. When you can no longer find the scraps, the mix is rich soil ready for containers. Keep two totes going and you can rotate them with your buckets.
The apartment version
Bokashi suits small homes because the bucket is sealed. With the lid closed it gives off little odor, and when you open it, it smells briefly of pickles. It stays inside, so there is nothing for a landlord to object to, and no outdoor space is needed until the finishing step.
That finishing step is where apartment dwellers get creative. A soil tote on a balcony or in a closet handles a household's output. A community garden may welcome finished bokashi in its shared pile or a member's plot, but ask the coordinator first, since some gardens limit outside scraps or meat. A neighbor with a yard might take it. And if your city collects food scraps or runs drop-off sites, you can add fermented bokashi there too; check that your program accepts meat if your bucket held any.
On cost, bran is the ongoing expense. Some community composting groups sell or share bran, and many people make their own from wheat bran, molasses and a liquid microbial culture, though store-bought bran is the easier start.
Mistakes that spoil a batch
- Too little bran. If the bucket smells foul instead of sour, add more bran with each layer, as NC State's Beaufort County Extension advises.
- Air pockets. Press every layer down hard. Loose scraps leave room for the wrong microbes.
- A lid left loose, or opened many times a day. Collect scraps in a small pail and add them once a day instead.
- Not draining. Standing liquid turns a batch putrid fast.
- Adding liquids or rotten food, which bring in the wrong microbes from the start.
- Treating the output as finished compost. Spreading fresh bokashi on the surface or packing it against roots can burn plants and attract animals.
Mold is a useful signal. White, fuzzy mold is a good sign. Small patches of green, blue or black mold mean air got in or the bran was too thin. A bucket that is mostly black or green and smells rotten has gone off. It is unpleasant, not dangerous: bury it deep, away from vegetable beds, or put it in the city green cart if your program takes food scraps, and start the next bucket with more bran.
Bokashi beside the other methods
| Bokashi bucket | Worm bin | Backyard pile | City collection | |
|---|---|---|---|---|
| Meat and dairy | Yes | No | No | Often; check the list |
| Space needed | Under a sink, plus soil to finish | A closet or cabinet | A corner of yard | A cart or a freezer |
| Time to usable result | About 2 weeks, then 2 to 4 in soil | 3 to 6 months | 3 to 12 months | None for you |
| Ongoing cost | Bran refills | Some bedding | Free | Often free |
| Main chore | Layering and draining | Feeding and harvesting | Adding browns, turning | Taking it out |
Many households end up combining methods. Bokashi handles meat and leftovers, while a pile or worm bin takes peels and grounds. If you are starting from scratch, our guide on how to start composting covers the outdoor side, our explainer on worm composting shows how worms can finish a bokashi batch indoors, and our compost bin roundup compares a bokashi bucket with kitchen pails, a tumbler and a worm bin.
Next: try the Compost Calculator or browse the full Pack list.