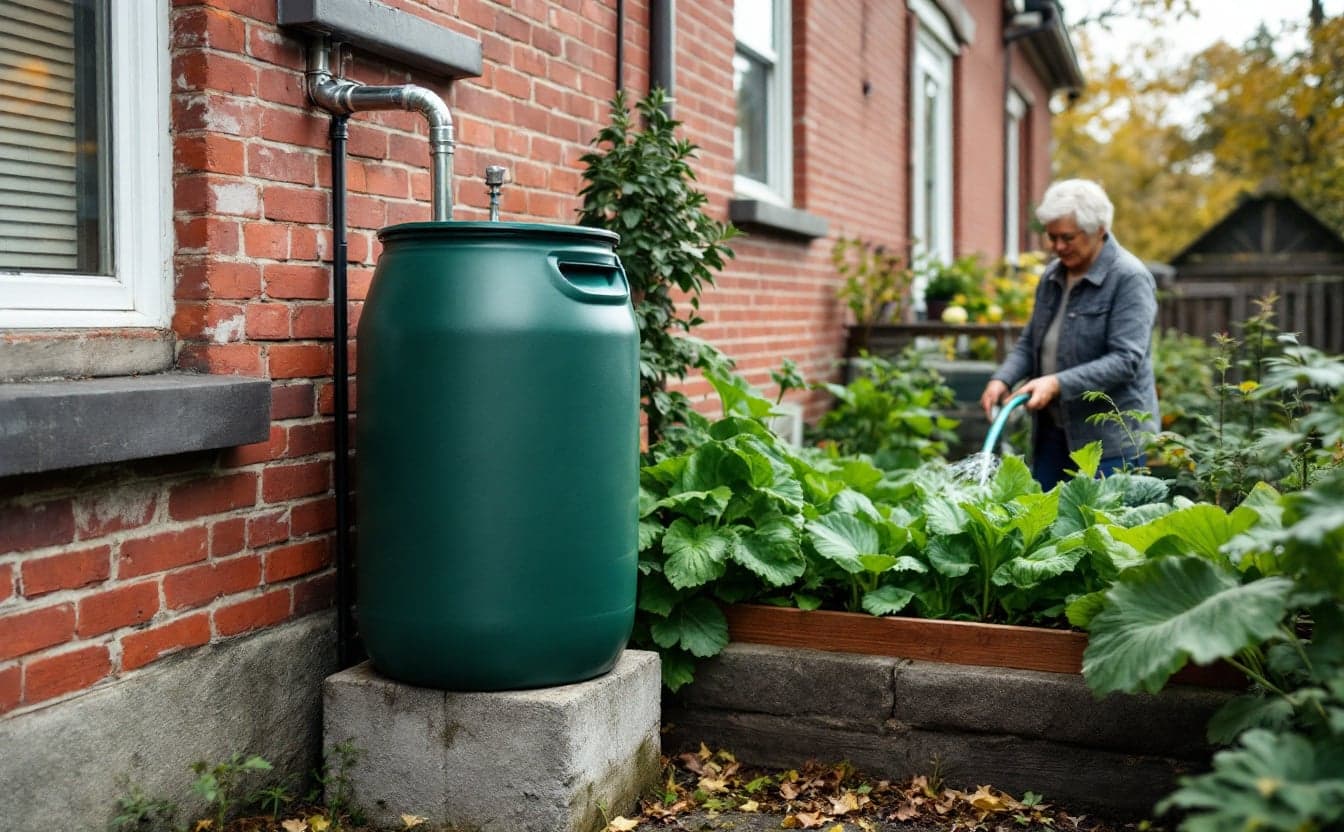



DIY Rain Barrel: How to Build One From a Food-Grade Drum
Ask at the loading dock of a soda bottler or a pickle plant and there is a fair chance someone will point you to a stack of plastic drums by the dumpster. Those drums arrived full of syrup, juice concentrate or brine. Emptied, they are a disposal problem for the plant and the start of a rain barrel for you.
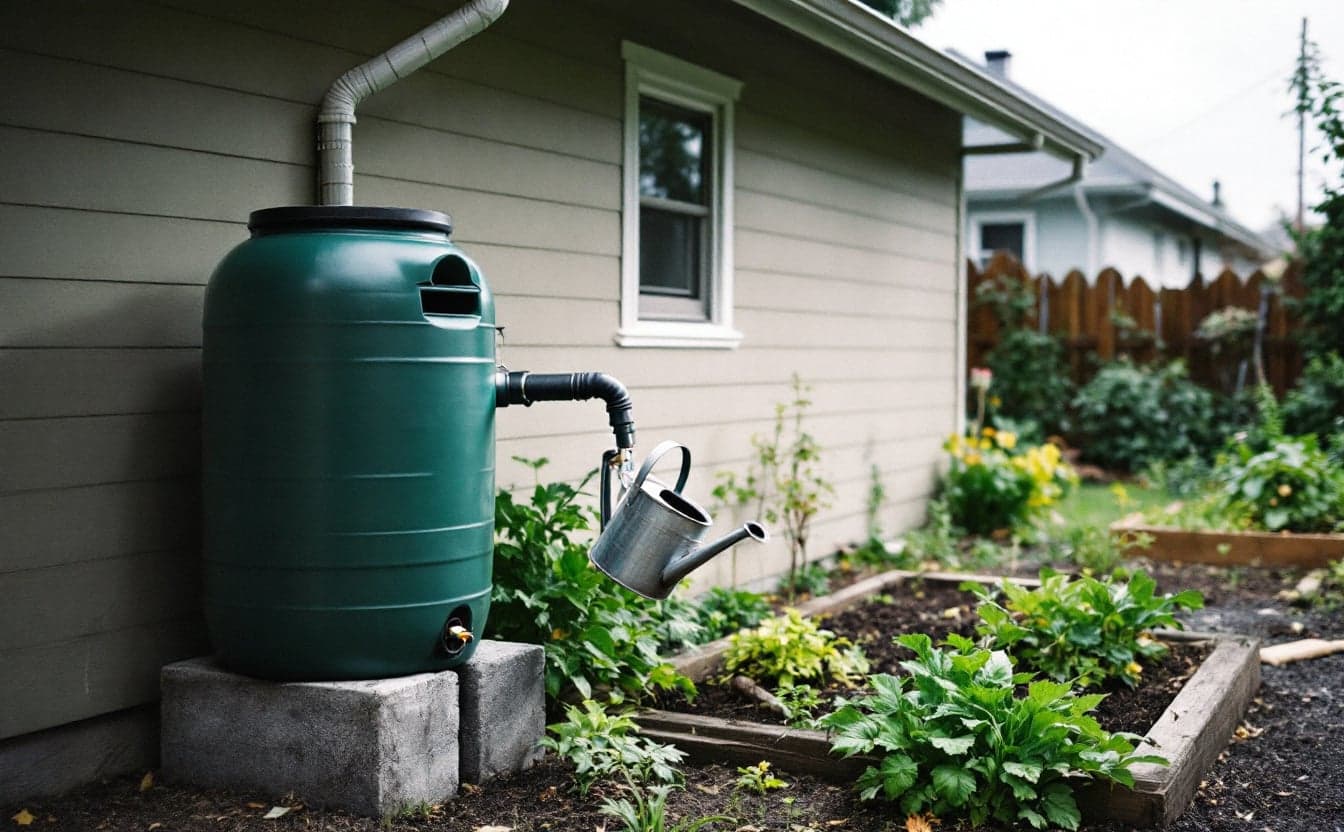
A DIY rain barrel is a food-grade 55-gallon drum with four additions: a spigot near the bottom, an overflow near the top, a screened inlet, and a level stand that lifts it off the ground. With a drill and a few dollars of hardware, the build takes an afternoon. The part that deserves the most care is the first one, choosing the barrel.
Start with the right barrel
Use only a drum that held food or drink. Good sources include soft drink and juice bottlers, food processors (olives, pickles, sauces, syrups), bakeries and restaurant suppliers, and local resellers who clean and sell used food-grade drums. Ask what the drum held. A label or a straight answer is what you are after.
Never use a drum that held chemicals: pesticides, solvents, motor oil, industrial cleaners or anything with a hazard label. Plastic absorbs some of what it holds, and no amount of rinsing makes a chemical drum safe to water a garden from. Car washes are often suggested as a free source, and some do give drums away, but most of those held soap and wax concentrates. Pass on them unless the label shows the drum held food.
Blue is the classic color, but color proves nothing. Look for the recycling code: food drums are usually high-density polyethylene, marked with a 2 in the triangle.
There are two common styles:
- Closed-top drums have a solid top with two threaded plugs (bungs). They are stiffer and seal tightly, and you cut the inlet yourself.
- Open-top drums have a removable lid held by a metal ring. They are easier to clean and to reach into when you fasten fittings.
Either works. Rinse the drum several times with water and a little dish soap until it no longer smells of what it held, because leftover syrup draws wasps and ferments in the sun. If the drum is white or translucent, plan to paint the outside a dark color with a paint made for plastic; light getting through the wall grows algae.
Parts and tools
Parts
- One food-grade 55-gallon drum
- A hose spigot with garden hose threads, plus a bulkhead fitting or a lock nut and two rubber washers to seal it through the wall
- An overflow fitting and a few feet of hose (a second spigot near the top works too)
- Fine window screen in fiberglass or aluminum, cut a few inches larger than the inlet, with stainless screws or a band clamp to hold it
- Thread seal tape and an outdoor-rated silicone sealant
- Four to six cinder blocks and a bag or two of paver base or gravel
- A downspout diverter, or a flexible downspout elbow if you plan to cut the spout
Tools
- A drill, with a hole saw sized to your fittings (the fitting's package lists it)
- A jigsaw or a sharp utility knife for the inlet
- A level, tape measure and marker
- An adjustable wrench and safety glasses
If you do not own a drill, check for a tool library nearby. Borrowing one for a weekend is the same habit of reuse that runs through our guide to low-waste living on a budget.
Step by step
1. Pick the spot
Choose the downspout that drains the biggest section of roof you can conveniently use, close to the beds you plan to water. The ground should be firm and as level as possible, with room for the overflow to run several feet away from the foundation toward a lawn, bed or rain garden. Avoid spots over a basement window well or against a wall that already gets damp.
2. Build a level stand
Water weighs about 8.3 pounds per gallon, so a full 55-gallon drum carries roughly 460 pounds of water before you count the barrel. Skimping here is how barrels tip.
Strip the sod, spread a couple of inches of paver base or gravel, tamp it firm and level it. Set the cinder blocks with their holes facing up and down, which is their strongest position, two blocks wide and two courses high for a stand of about 16 inches. That height fits a watering can under the spigot. Check level front to back and side to side, and fix any rocking now, while the barrel is empty.
3. Install the spigot
Drill the spigot hole 3 to 4 inches above the bottom of the drum. That leaves room inside for the washer and nut, and it keeps the spigot clear of the sediment that settles on the floor.
Wrap the spigot threads with seal tape. Push it through the wall with a rubber washer on the outside, then reach in and add the second washer and the lock nut (or tighten the bulkhead fitting, following its directions). Snug it firmly without cracking the plastic, then run a bead of silicone around the outside washer.
On a closed-top drum, a common shortcut is to stand it upside down and use one threaded bung opening, with an adapter, for the spigot. The other bung becomes your inlet or overflow.
4. Add the overflow
Drill the overflow 2 to 4 inches below the top. Fit it the same way as the spigot and attach hose long enough to carry water well away from the house. The overflow has to keep up with the inlet in a downpour; if you cut the downspout instead of using a diverter, use the largest overflow fitting you can, or two.
Cover the inside of the overflow opening with screen, or fasten mesh over the hose end. Mosquitoes will find any route in.
5. Cut and screen the inlet
If the downspout will drop straight into the barrel, cut an opening in the top directly under it. Lay screen over the opening and fasten it with stainless screws or a band clamp so it cannot sag or lift. For a diverter, you only need a hole sized to the diverter hose's fitting.
Close the lid tight. On an open-top drum, the metal ring should be clamped; on a closed-top drum, any unused bung should be screwed in.
6. Connect to the downspout
You have two choices here, and the first is usually better.
A downspout diverter mounts in the downspout at about the height of the barrel's inlet; most kits go in through a hole you drill or a short section you cut, so follow the kit's directions. A short hose runs from the diverter to the barrel. When the barrel is full, water backs up to the diverter and carries on down the spout as before. The downspout stays a working pipe, so there is less strain on your overflow, and in winter you just disconnect the hose. This one fits 2x3 and 3x4 inch downspouts, the two common residential sizes.
Cutting the spout means shortening it so it ends a few inches above the screened inlet, usually with a flexible elbow to aim the water. It is simple and handles heavy rain into the barrel well, but every drop the barrel cannot hold now leaves through your overflow, and in winter you need a spare section of downspout or an extension to send water away from the foundation again.
7. Fill it and look for leaks
Fill the barrel with a garden hose, wait an hour, and check the spigot and overflow fittings for drips. Tighten or reseal anything that weeps. It is much easier to fix now than after the first storm.
Safety: children, weight and what the water is for
Young children can drown in a few inches of water. The lid must close tight and stay closed, and the screen should be fastened with screws or a clamp, not tape. If a small child could pry it open, fix it.
Never let anyone climb on the barrel, and keep it on the ground, not on a deck or balcony, unless someone qualified has confirmed the structure can carry several hundred pounds in one spot. On soft ground or a tall stand, strap the barrel to the wall.
Rainwater off a roof picks up bacteria from bird droppings and residue from roofing materials, as the EPA's Soak Up the Rain program points out. It is good for gardens and not for drinking. A small "not for drinking" tag on the spigot helps when guests and kids are around. For vegetables, water the soil rather than the leaves and wash what you pick.
Keeping mosquitoes and algae out
According to the CDC, an Aedes mosquito egg can become a biting adult in 7 to 10 days. Any gap in a screen can become a nursery in less than two weeks.
Check the inlet and overflow screens once a month, and after storms that drop branches or leaves. Clean the gutters, which can hold standing water of their own. Use the water often. If the barrel will sit full for a long dry spell, mosquito dunks made with Bti, a bacterium that kills mosquito larvae and is labeled for this kind of water, are an option.
Algae is a nuisance rather than a hazard, but it clogs spigots. A dark, opaque barrel and a tight lid prevent most of it.
Before the first hard freeze
Ice expands, and a barrel that freezes full can split a seam or crack the spigot. Before the first hard freeze, drain the barrel, leave the spigot open, disconnect the diverter hose (or put the cut section of downspout back), and store the barrel upside down or in a shed. In spring, rinse it out, check the screens and fittings, and set it back on the stand.
Where winters stay mild, you can keep collecting year round. Just keep an eye on the overflow during the big storms.
When buying ready-made makes more sense
Building your own is satisfying, and it keeps a drum out of a landfill. It is not always the right call. Buy a ready-made barrel when:
- You cannot find a drum whose former contents you can confirm.
- You do not have the tools, the time, or the hand strength to tighten fittings inside a drum.
- You rent, or live under a homeowners association, and a tidier factory look will make the conversation easier.
- You want a sealed, child-safe top out of the box.
- Your city gives barrels away or offers a rebate, which covers most of the reasons to build.
Our guide to choosing a rain barrel covers what to look for in a ready-made one, plus state rules and free barrel programs. One sensible option is the RTS 50-gallon ECO rain barrel, molded from recycled plastic with a hose spigot already fitted. We picked it, and the diverter above, from makers' descriptions, published reviews and owner feedback rather than from installing them ourselves.
Whichever way you go, run your roof through the rain barrel calculator before you start. Most people find one storm sends far more water than one barrel can hold, which is a good reason to plan for a second barrel or a rain garden from day one. And keep the habit that makes a rain barrel worth the afternoon: draw it down between storms, so there is room for the next one.
Partner links may earn us a commission.
Pack list for home and block
- BLUETTI power stationsBLUETTI's own store, with home backup bundles and solar panels.Shop at BLUETTI
Next: try the Rain Barrel Calculator or browse the full Pack list.